Fresh Brew Woodworks
River Tables
The Art of the River Table: Our Meticulous Crafting Process
A beautiful table is one thing. A beautiful table that stays perfectly flat and lasts for generations is another. At Fresh Brew Woodworks, our reputation is built on an uncompromising commitment to quality. We invite you to look behind the curtain at the meticulous process and passion that goes into every river table we create.
Eastern Black Walnut (American Black Walnut)
Step 1: The Soul of the Table - Hand-Selected Hardwoods
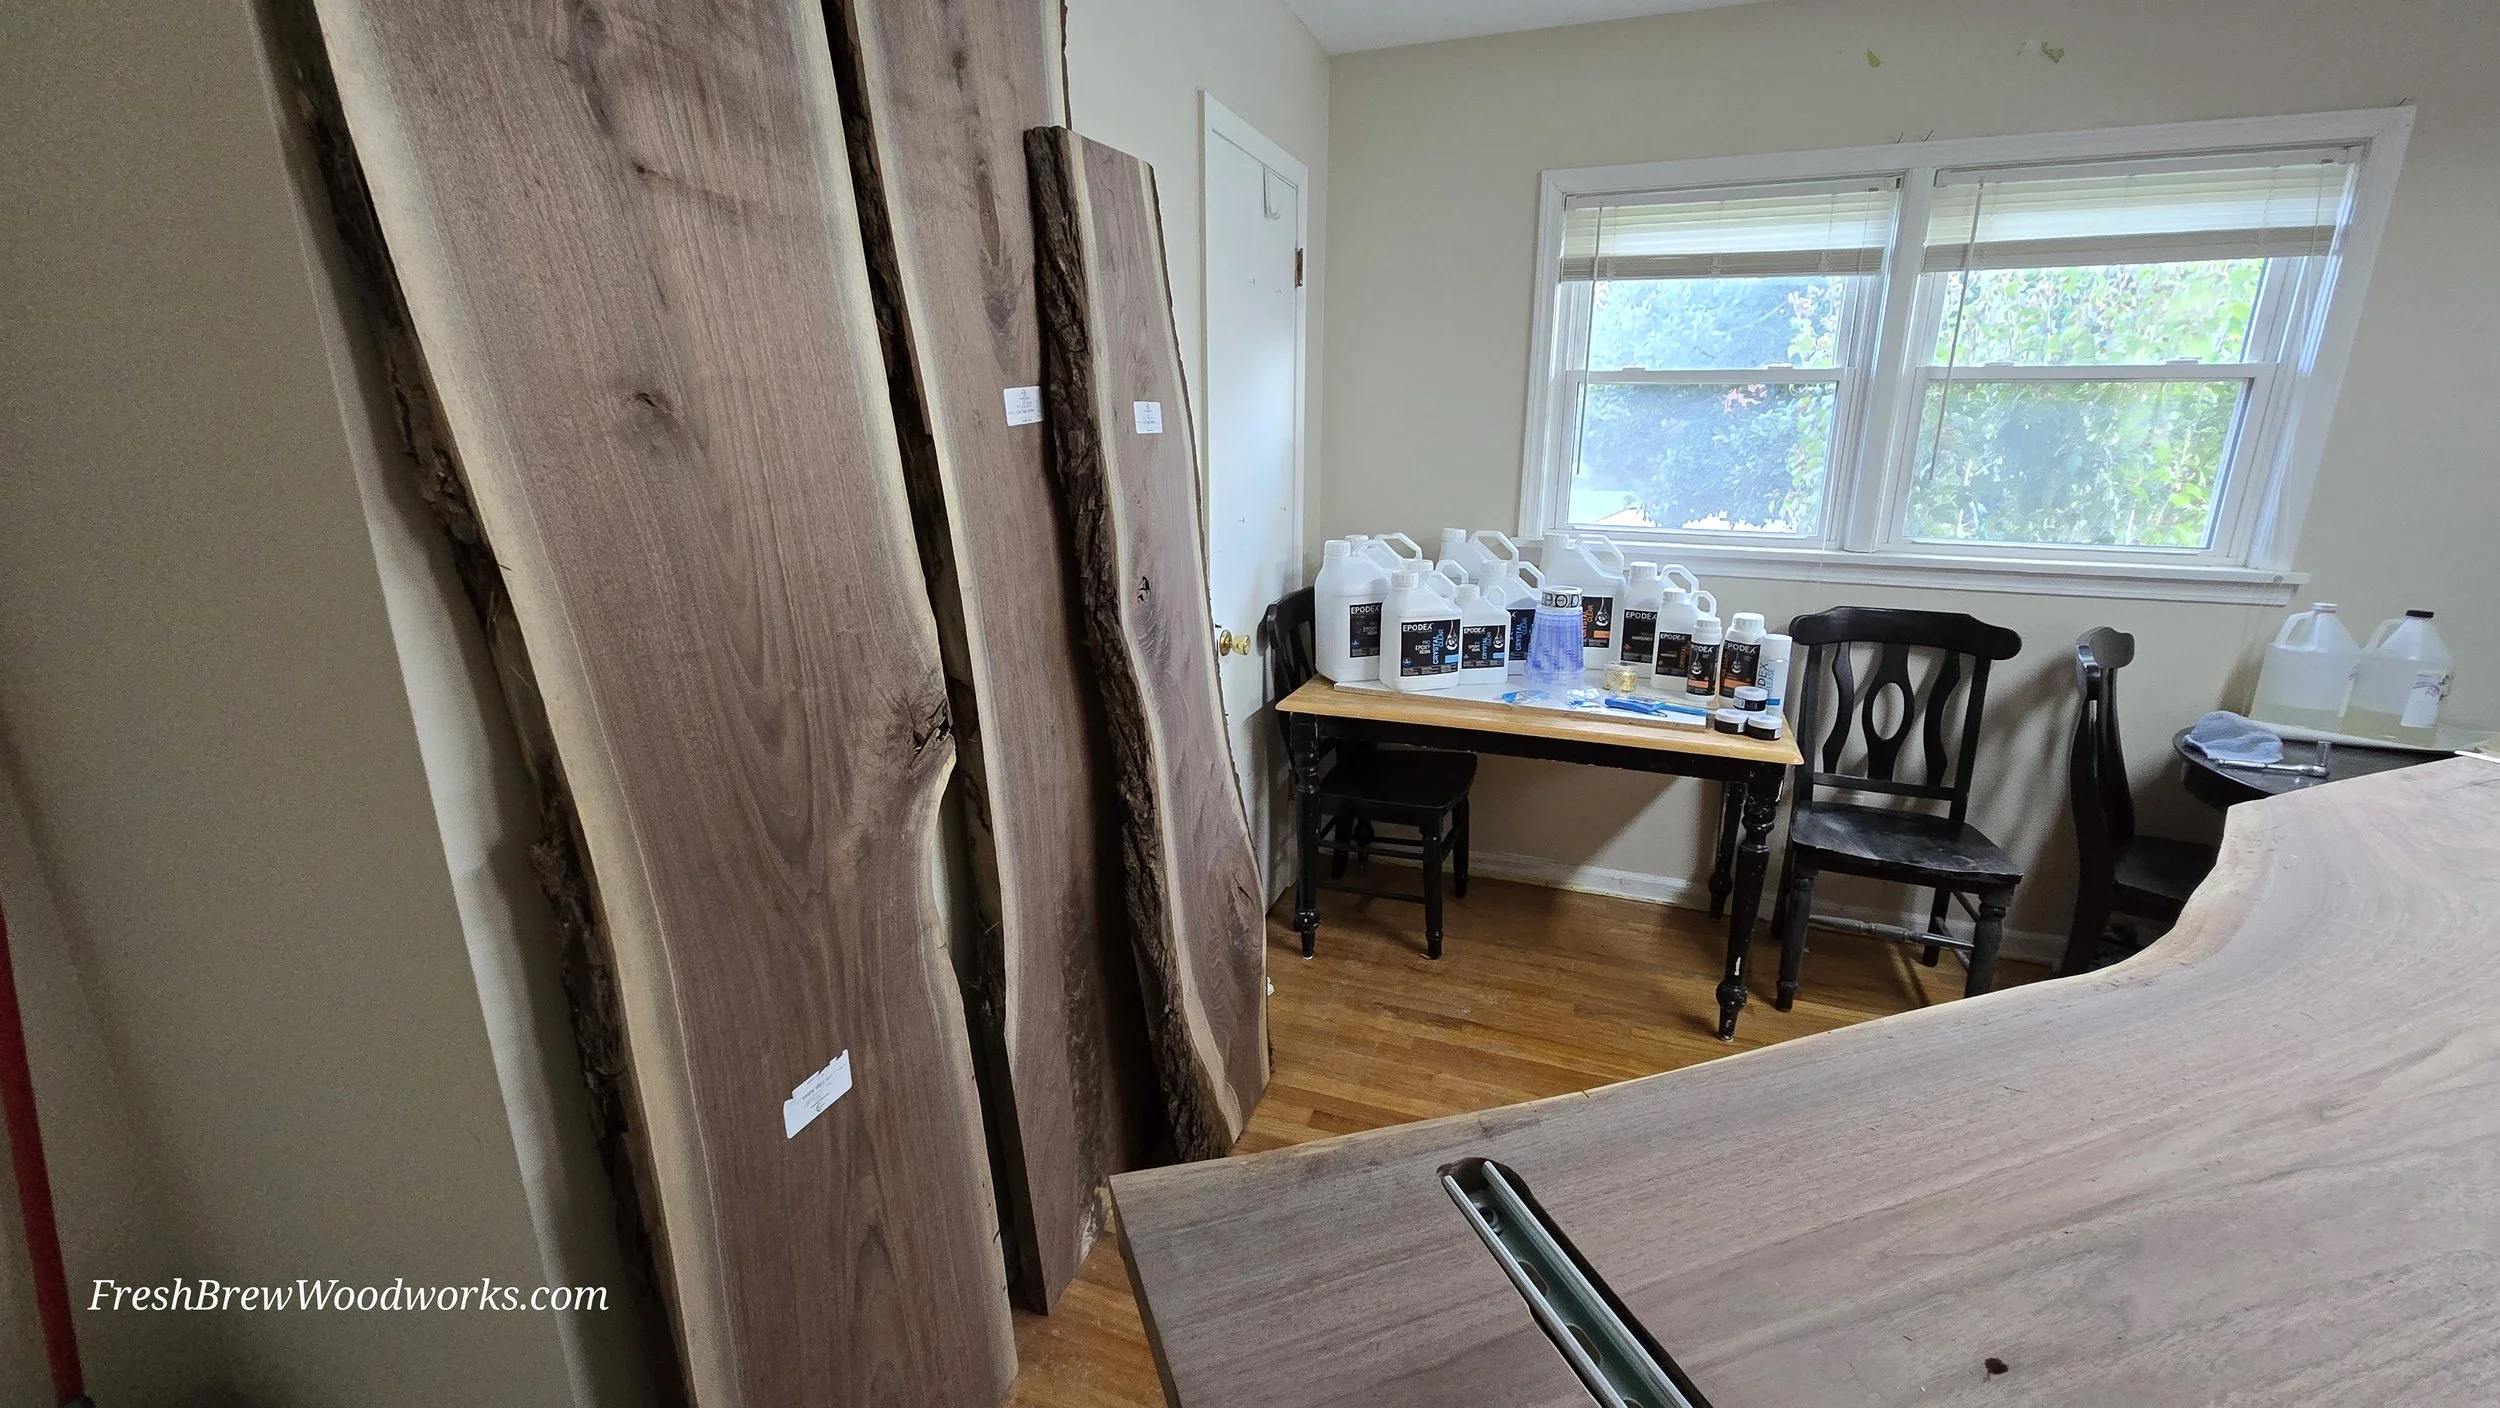
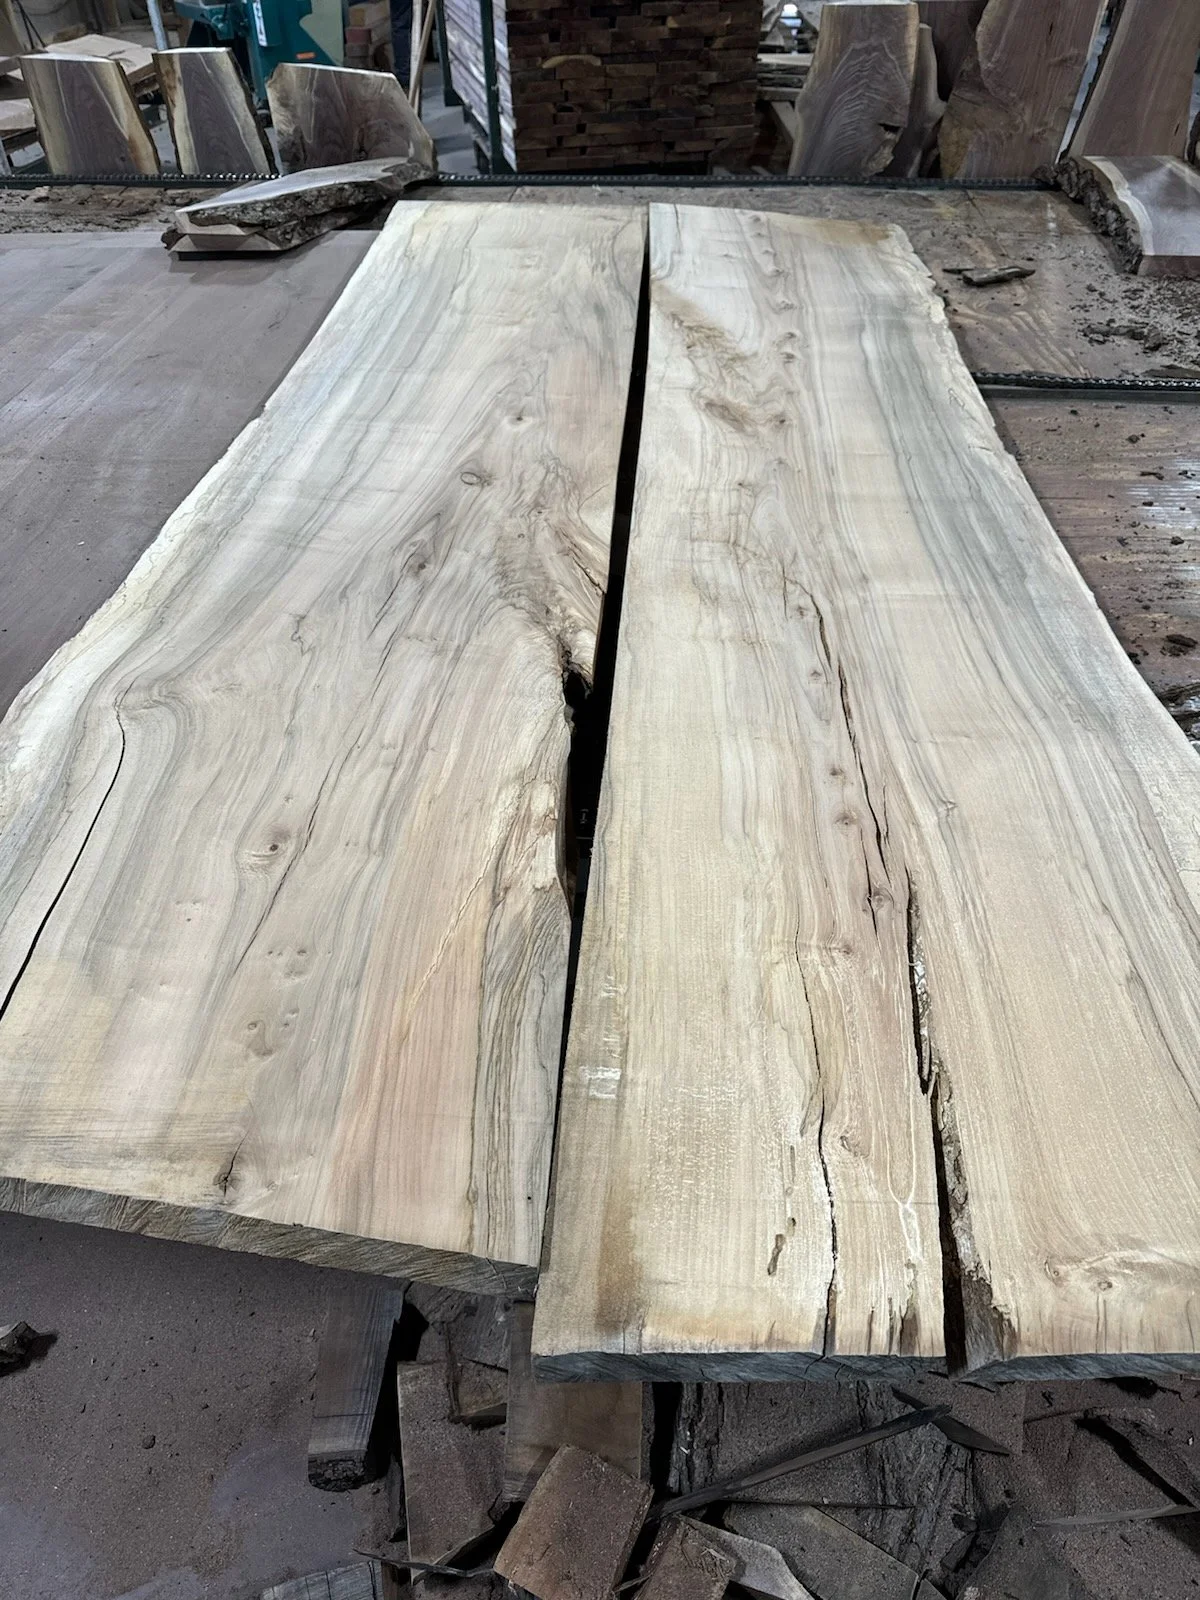
Every masterpiece begins with the finest canvas. For us, that canvas is American Black Walnut. We source our premium, kiln-dried slabs from our trusted local supplier, Posey Valley Hardwoods. Kiln-drying is a critical process that ensures the wood is exceptionally stable and ready for a lifetime of use indoors.
We personally hand-select every single slab, looking for the perfect combination of stunning grain, unique character, and structural integrity. This ensures the wood we use for your table isn’t just a component; it’s a conversation piece, the soul of the Table.
Spalted Maple
Sassafras
White oak
Step 2: The Foundation - Building the Perfect Form
Once we have the perfect slabs, we design and build a custom, perfectly sealed form or "mold" around them. This creates a leak-proof vessel that will contain the epoxy river. We take great care to ensure the form is perfectly level and secure, as this is the foundation for a flawless casting and a perfectly shaped final table.
Step 3: The River - A Crystal-Clear & Deliberate Pour
observing cell activation
With the wood prepared, we precisely mix our chosen EPODEX deep pour epoxy. This professional-grade resin is renowned for its incredible clarity and durability. The two parts are mixed thoroughly to ensure a strong, bubble-free cure.
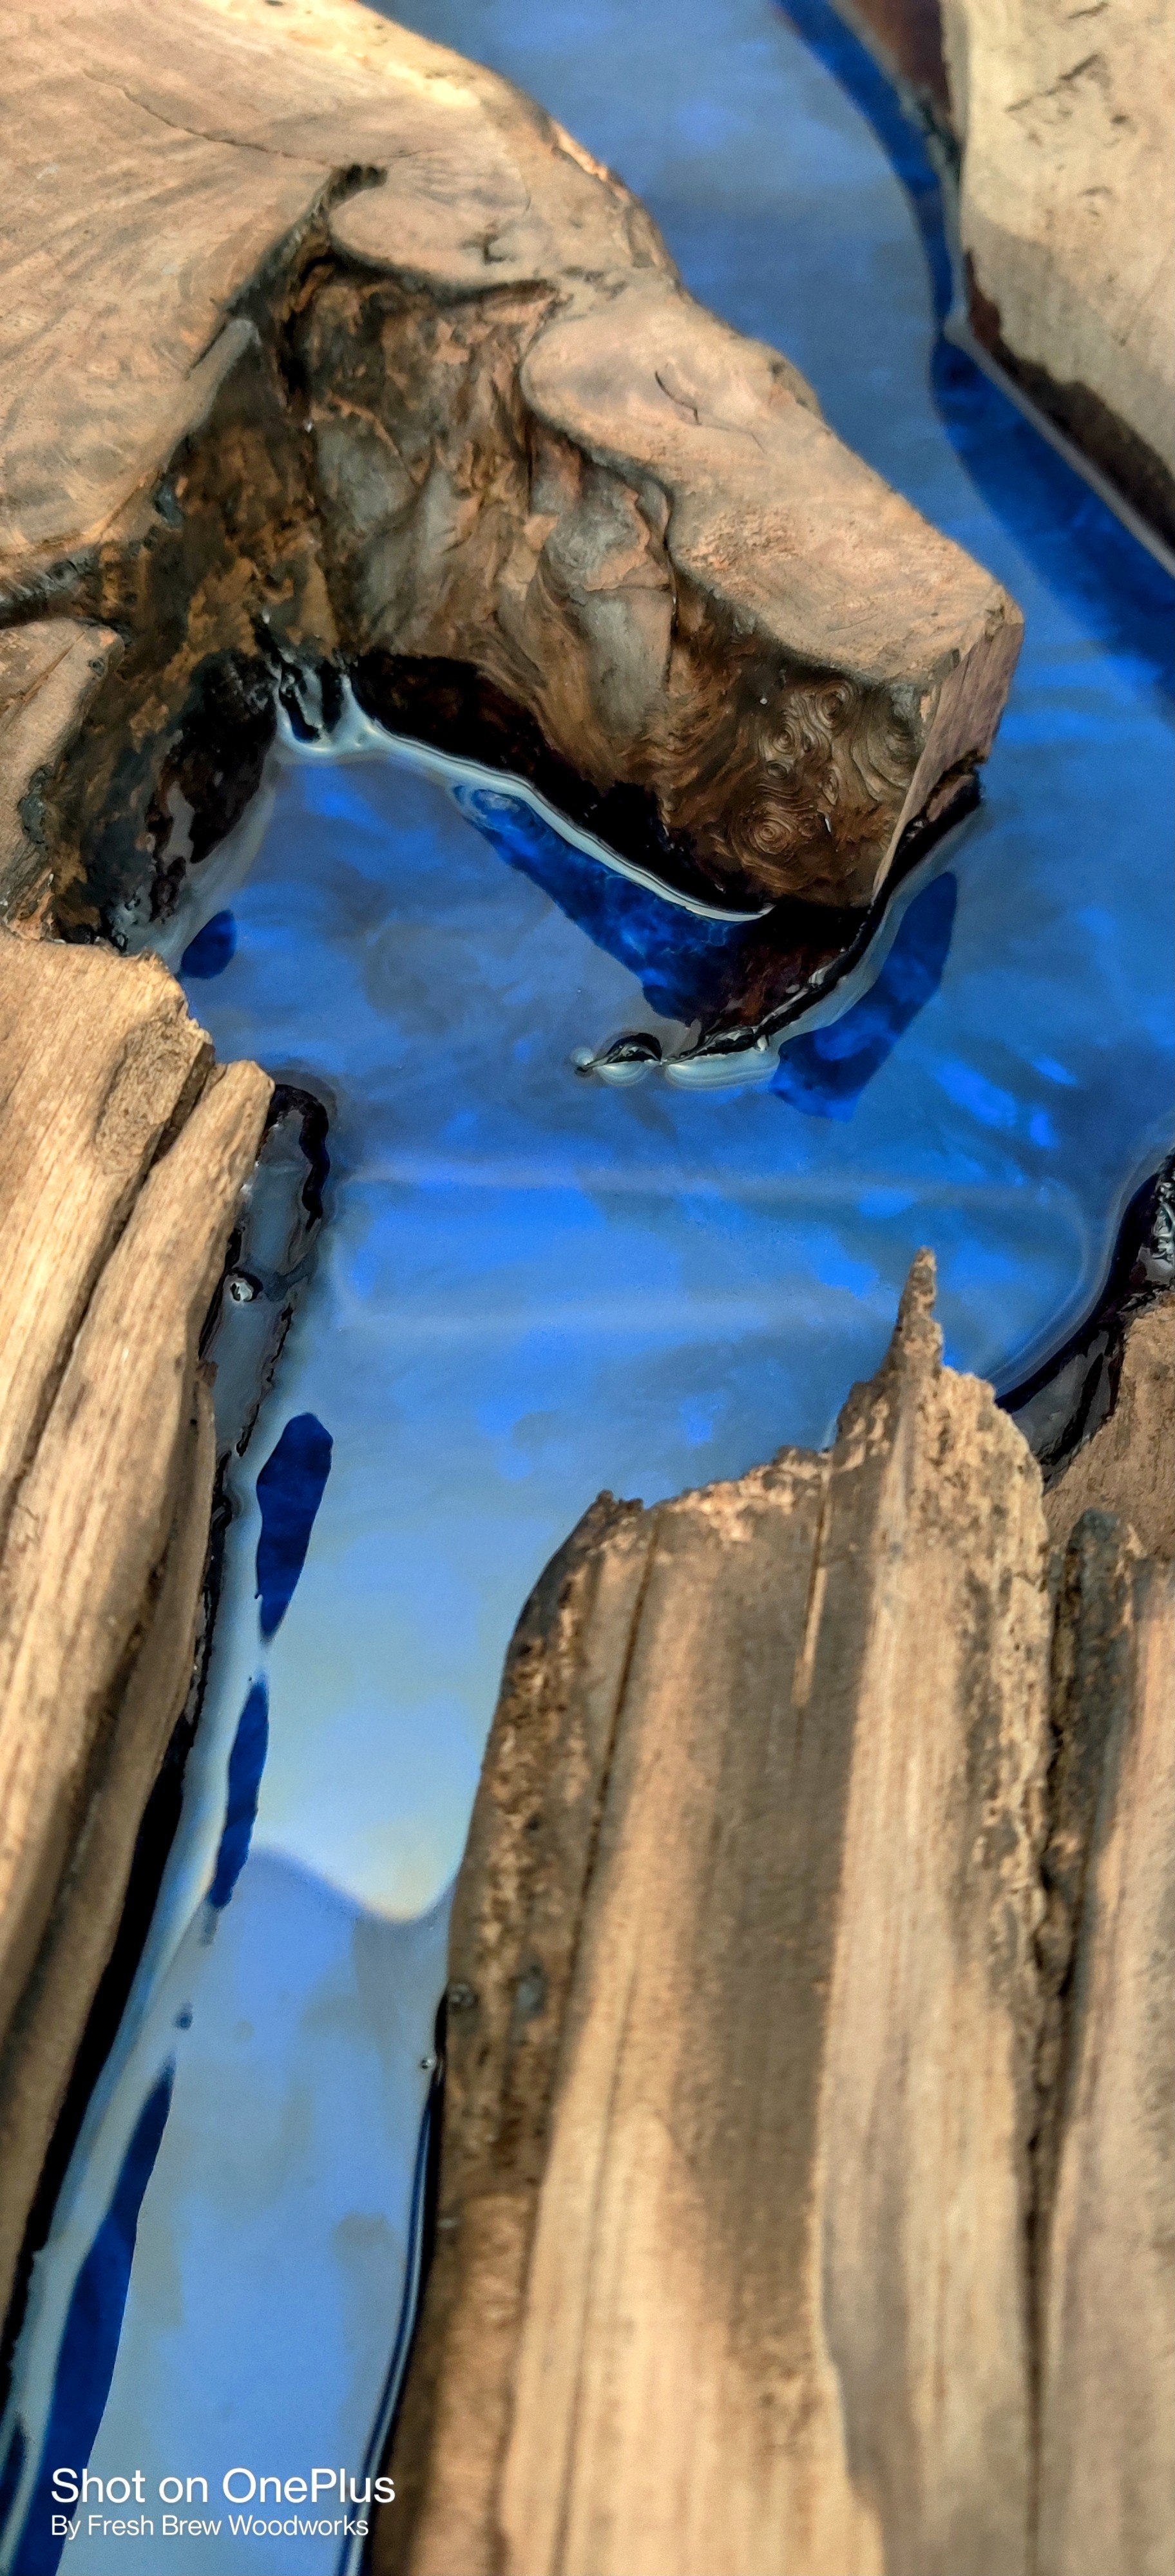
The pour itself is a deliberate process. We pour the epoxy slowly and carefully, allowing it to flow naturally into every crevice of the live edge wood, creating the stunning river effect.
Fresh Brew Woodworks - Where Craftsmanship is Always Brewing -
Fresh Brew Woodworks - Where Craftsmanship is Always Brewing -
Step 4: The Virtue of Patience - A 3 to 4 Week Cure
After the pour, the first of many important steps begin: waiting. We let every table cure undisturbed in its mold for a minimum of 3 to 4 weeks. Wood and epoxy settle at different rates as the epoxy hardens. This extended time allows the entire piece to become incredibly stable. Rushing this step is the number one cause of warped or cracked tables down the road—a shortcut we simply refuse to take. This patience is our guarantee of a stable, lifelong piece of furniture.
Custom River Countertop Epoxy Pour
Step 5: Creating Perfection - Flattening & Shaping
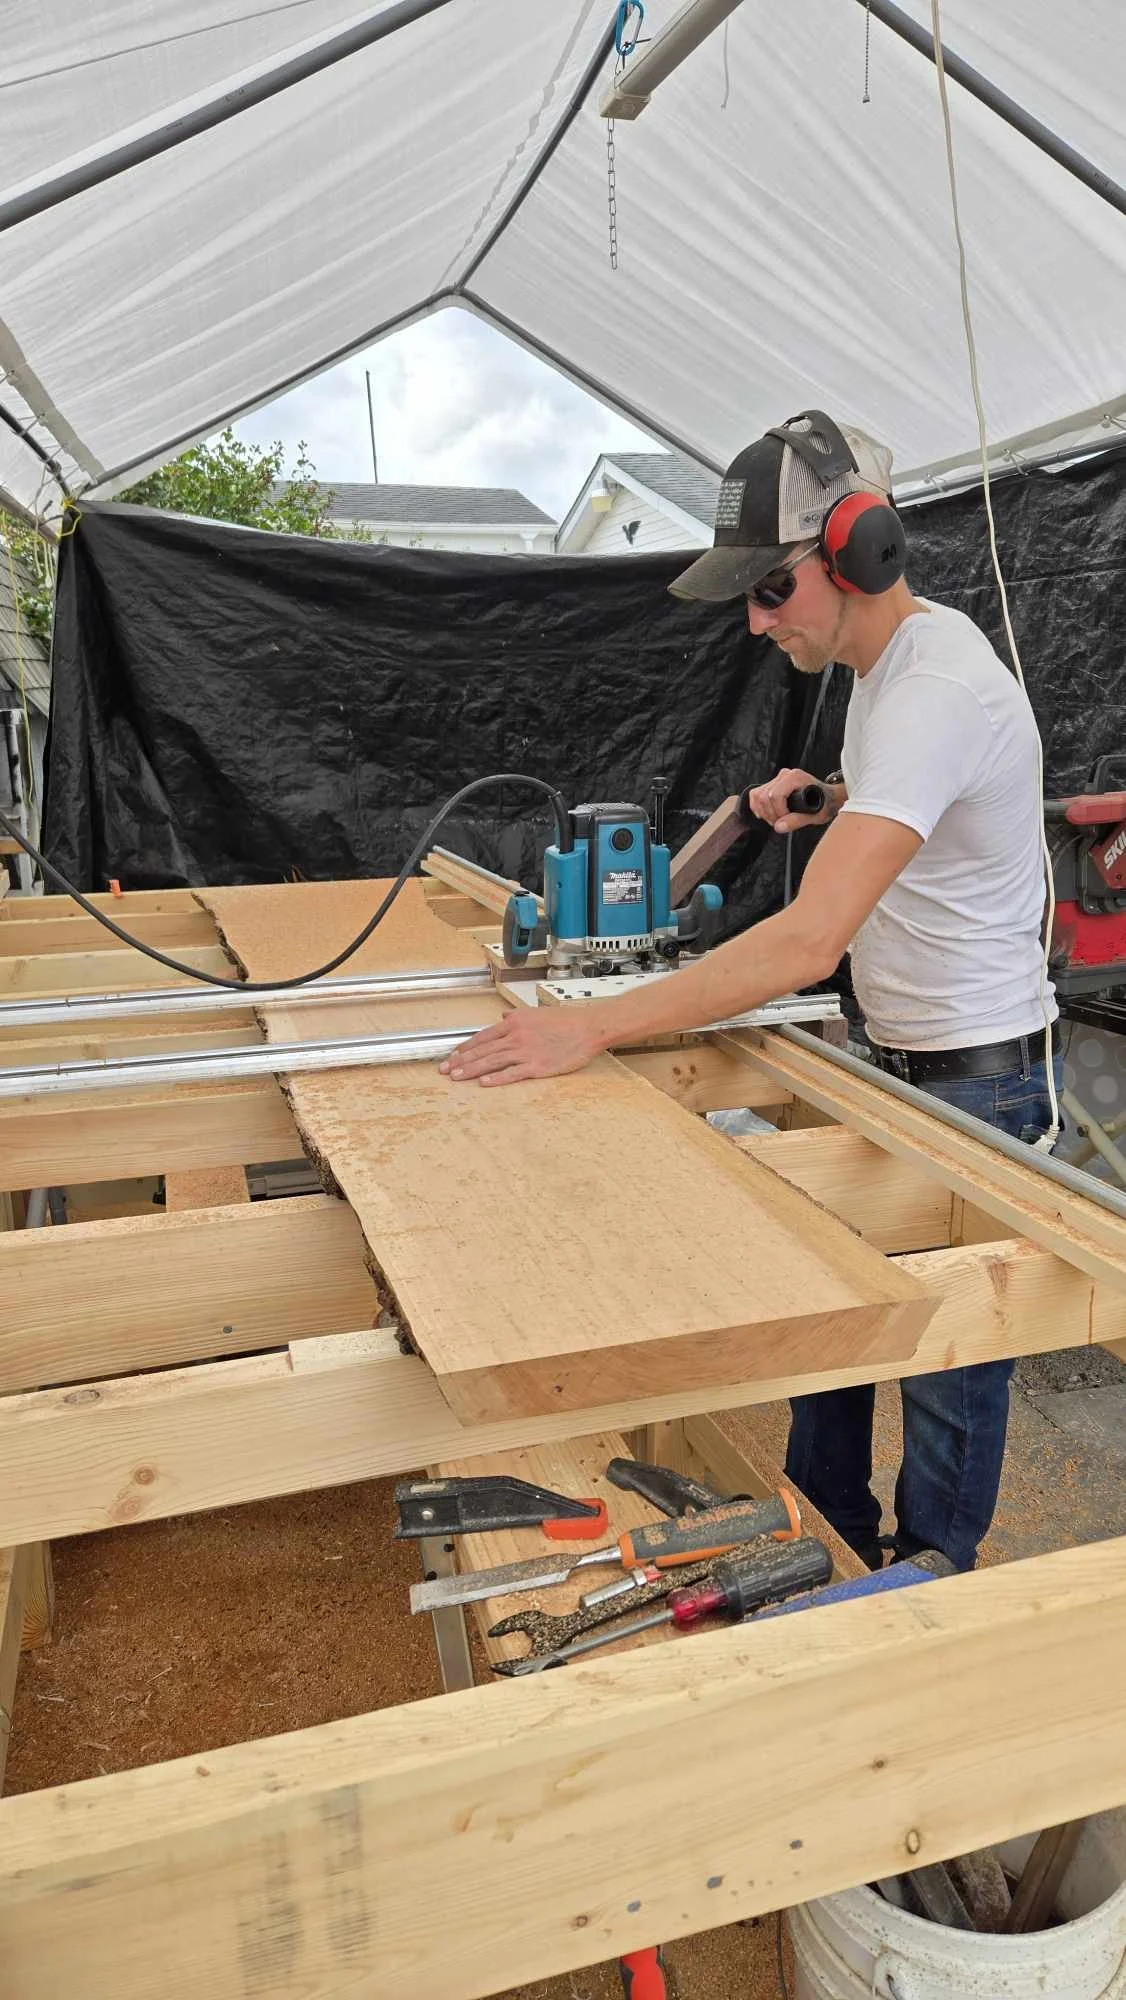
Once stabilized, tables under 6ft are flattened on both sides using our precise CNC machine, ensuring a perfectly even surface. For tables over 6ft, we use a manual CNC router sled on SBR20 linear rails, which is hand-operated. Even if the river pour and slab start perfectly flat, after assembling the pieces and pouring the river, the surface is no longer flat. flattening both sides is a crucial step in building river tables.
After flattening, we cut the table to its final size and carefully shape the edges for a smooth, comfortable feel that complements the design our client is looking for. Table Edges can be Traditional square, have a round over edge, bull nose, beveled, ogee, etc.
Step 6: The Soul of the Surface - Meticulous Sanding
Sanding is what truly brings the table to life. This is a time-intensive stage that can’t be rushed. We spend hours on a detailed, multi-step process, methodically moving through finer and finer grits of sandpaper. it takes time to achieve stunning, glass-like clarity in the epoxy and for a surface on the wood that feels as smooth as silk, time and patience is a must.
Sanding Olive Green River Table
(Aggressive exfoliation session)
CNC Router Mill Surfacing
Round over Edge
Step 7: The Final Finish - Protecting & Revealing Beauty
The meticulous preparation of your table leads to this final, critical stage. The finish does more than just protect the wood and epoxy; it defines the table's final look, feel, and character. We offer three distinct, professional-grade finishing options, each with its own unique benefits in terms of appearance, durability, and maintenance.
Option 1: Natural Oil Finish (Matte)
Best For: Clients who love the organic, natural feel of the wood and prefer a subtle, low-sheen look.
The Look & Feel: This is a penetrating oil finish that soaks into the wood fibers rather than sitting on top as a plastic-like film. The result is a beautiful matte finish that brings out the warmth and natural color of the walnut. It has a velvety, smooth-to-the-touch feel that allows you to feel the actual grain of the wood.
Durability & Maintenance: This finish provides good protection against spills and daily use. One of its greatest advantages is its repairability; minor scratches or scuffs can often be spot-repaired by sanding lightly and reapplying a small amount of oil. To keep it looking its best, the table will benefit from a simple re-application of oil every 1-2 years, a process you can easily do yourself.
Process & Timeframe: We apply several coats of a premium wipe-on oil, allowing each coat to fully penetrate and cure before applying the next. This is our fastest finishing process.
Timeframe: Adds approximately 7-14 days to the project timeline.
Price Point: Included in the base price of the table.
Option 2: Oil-Based Polyurethane (Satin)
Best For: Those seeking a perfect balance of a natural appearance and excellent, low-maintenance durability. It's our most popular choice for tables intended for heavy daily use, such as dining tables and kitchen islands.
The Look & Feel: This finish provides a smooth, silky protective layer over the tables surface. We use a high-quality satin sheen, which offers an elegant, subtle glow without being overly glossy or reflective. It enhances the wood's color and depth while providing a uniform, flawless surface.
Durability & Maintenance: Polyurethane offers exceptional resistance to water, heat, alcohol, and scratches. It creates a highly durable barrier that requires very little maintenance beyond simple cleaning with a damp cloth and mild soap. It is a true "set it and forget it" finish.
Process & Timeframe: This is a more time-intensive process. We apply a minimum of three thin coats to the entire table. Between each coat, the surface is lightly sanded to ensure a perfect mechanical bond and an impeccably smooth final result.
Timeframe: Adds approximately 30-90 days to the project timeline.
Price Point: Moderate Upgrade (+ $). This reflects the significant increase in labor and the cost of materials.
Option 3: High Gloss Epoxy Resin Finish
Best For: The ultimate "wow" factor. This option is for clients who desire a modern, show-stopping centerpiece with maximum depth, vibrancy, and a glass-like surface.
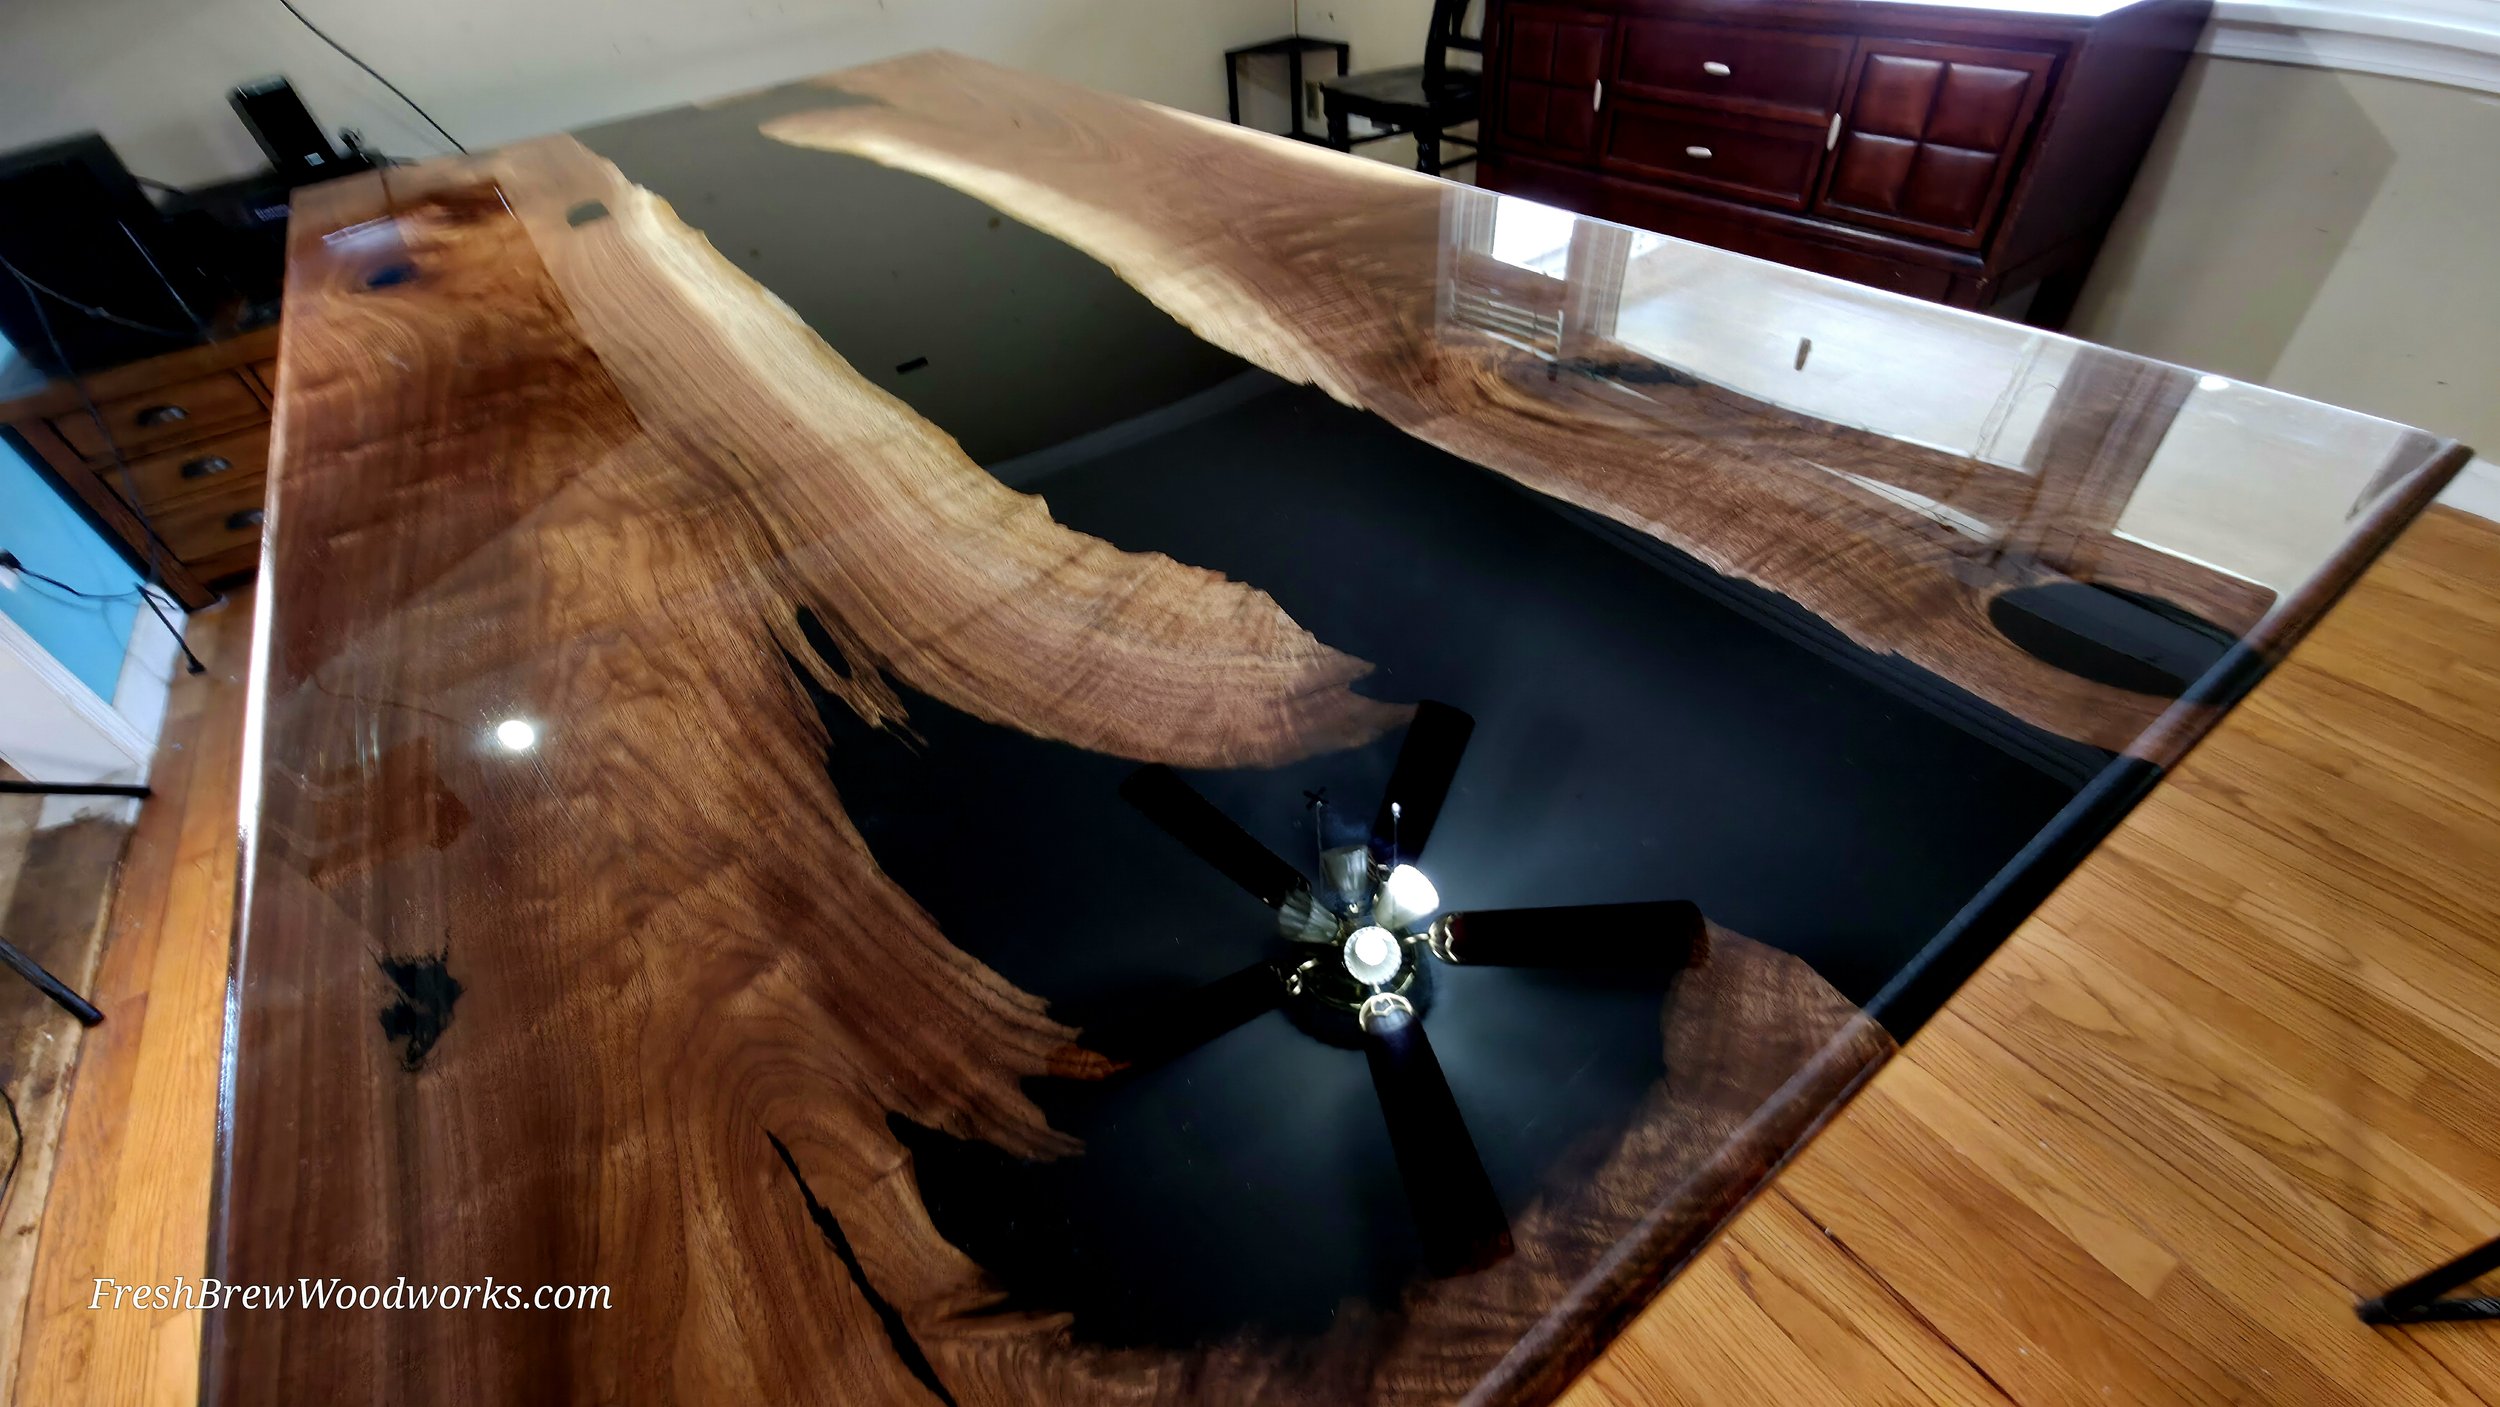
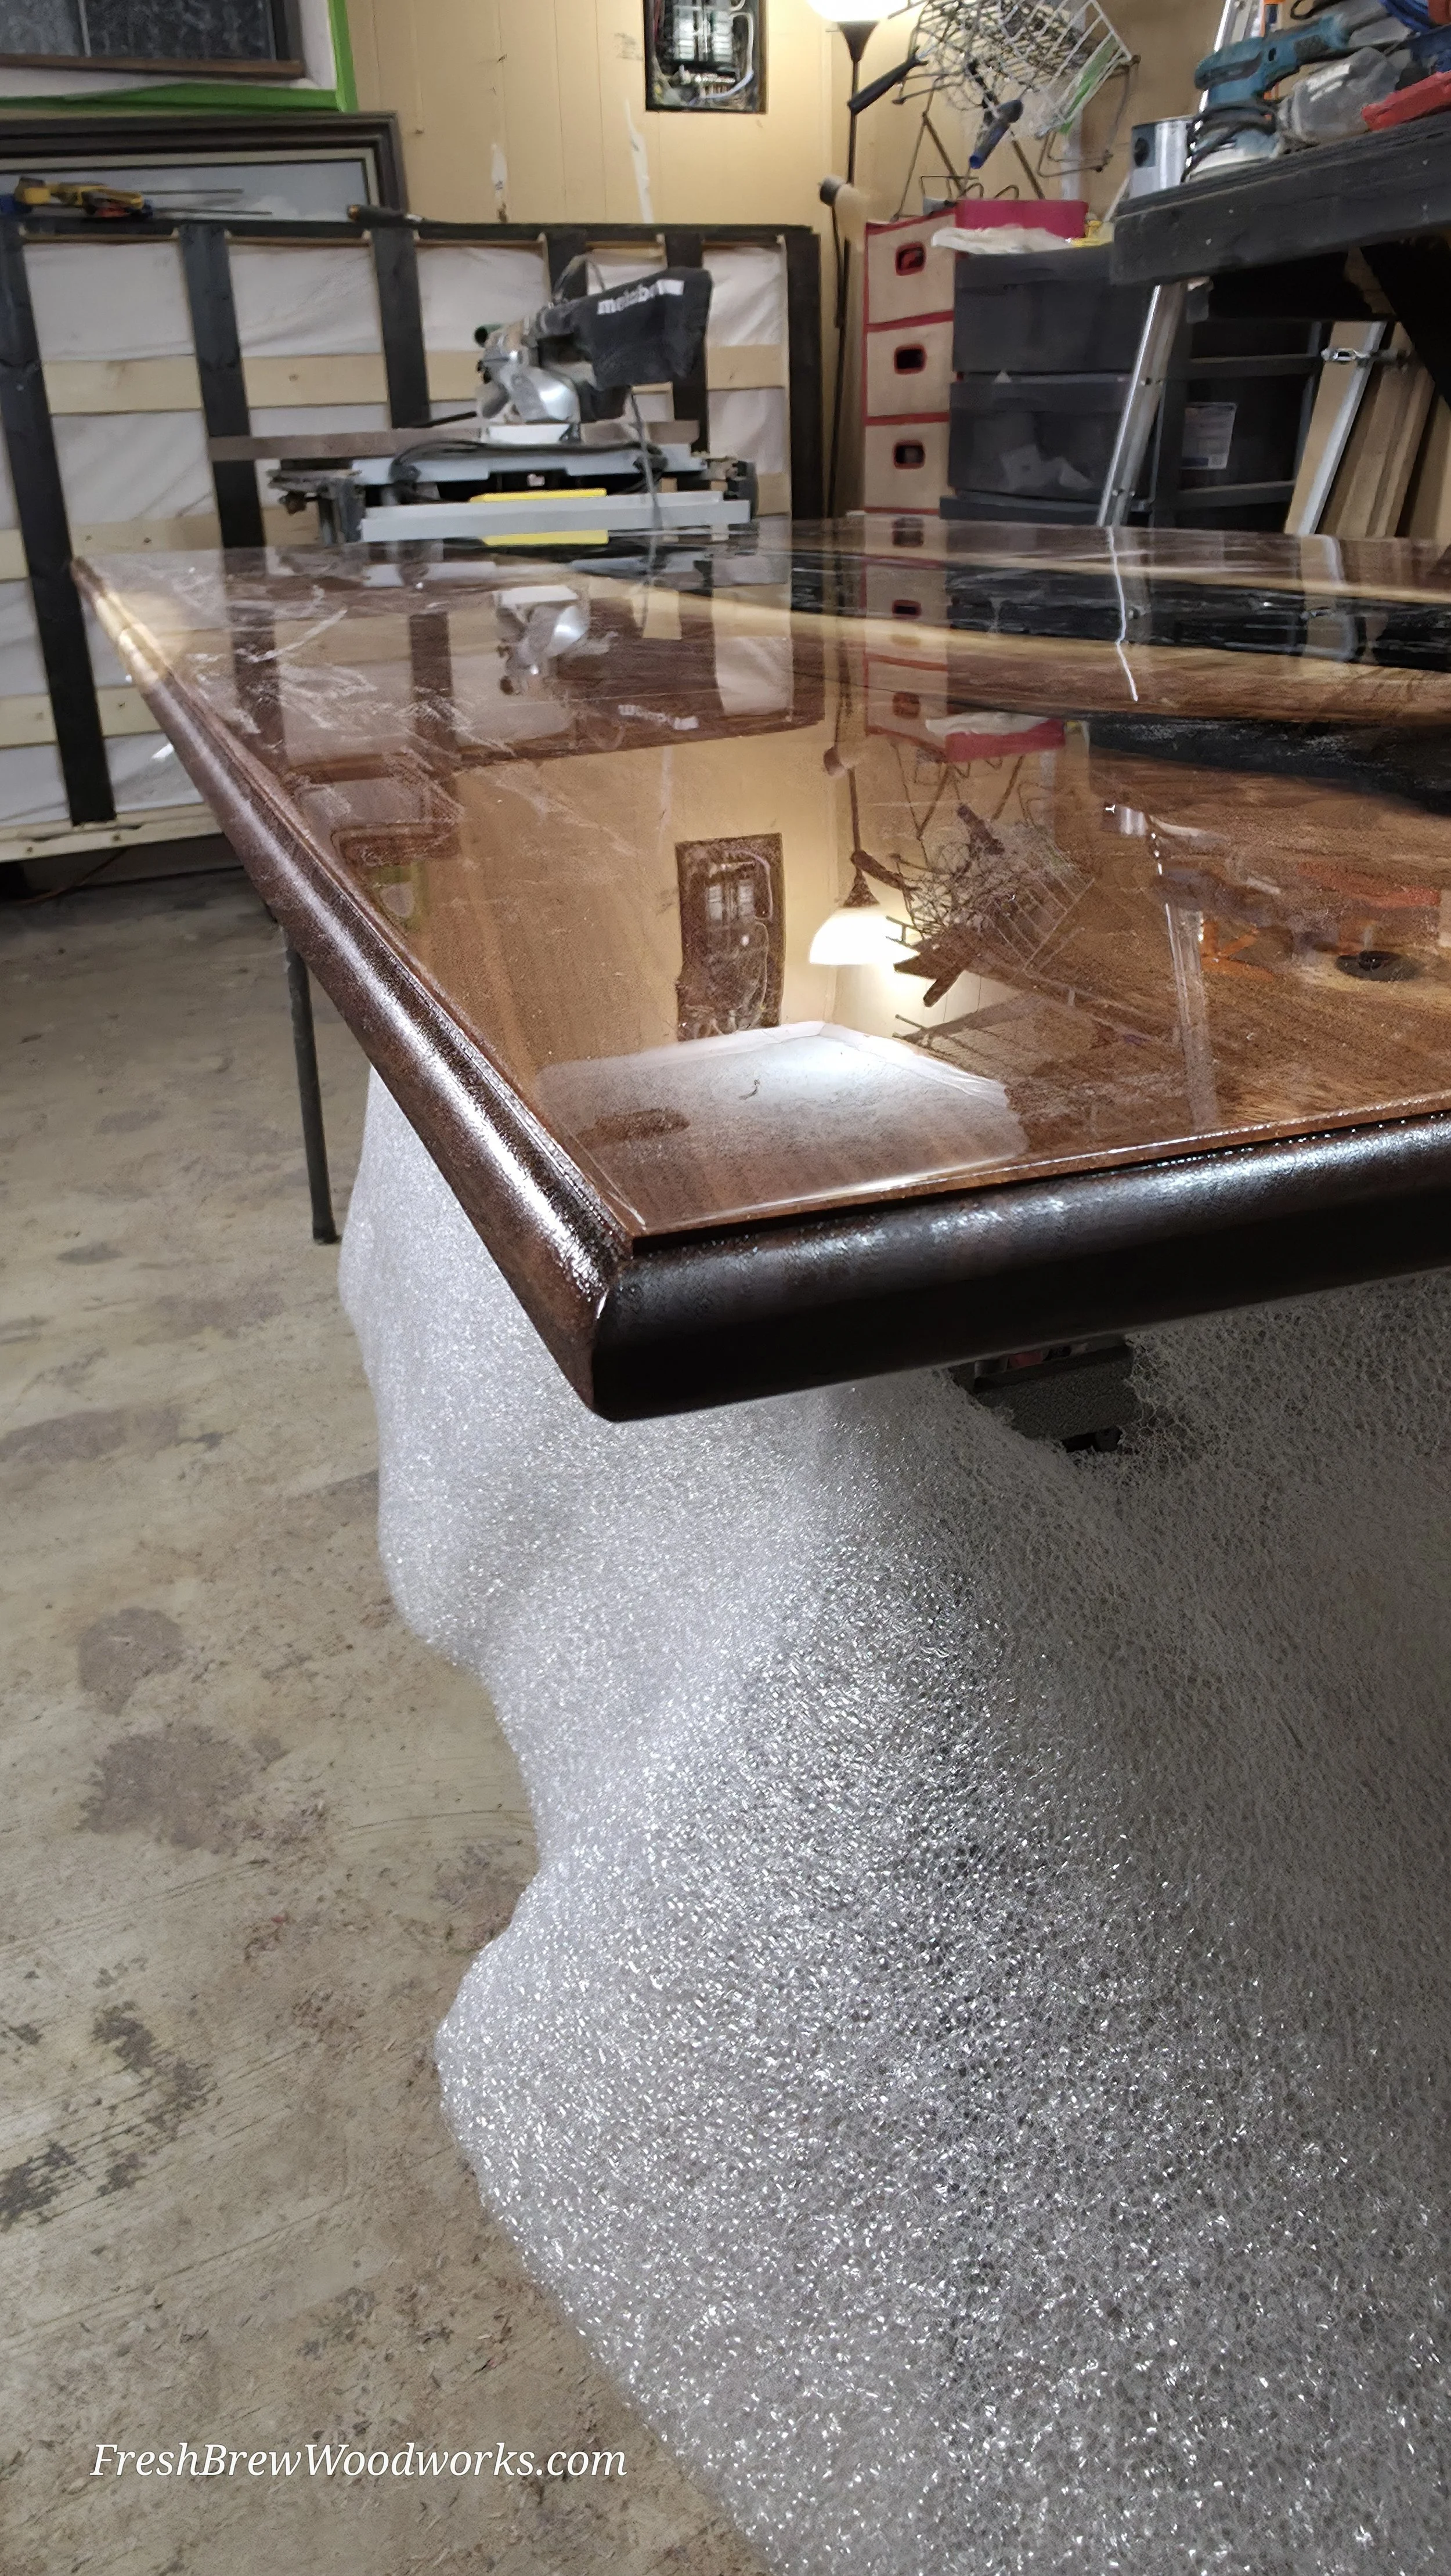
The Look & Feel: An epoxy resin finish, also known as a flood coat, creates a thick, perfectly clear, mirror-like gloss. This finish makes the wood grain and river colors appear incredibly deep and vibrant, almost like they are preserved under a layer of glass. The surface is perfectly flat and ultra-smooth.
Durability & Maintenance: This is our most durable finish. The thick layer of epoxy acts as waterproof armor, providing the highest level of resistance to moisture and scratches. It is extremely hard and durable for everyday use.
Process & Timeframe: This is our most complex and meticulous finishing process. It begins with a thin "seal coat" of epoxy to prepare the surface. This is followed by a thick flood coat, followed by a 2nd flood coat just hours apart to ensure a chemical bond. Pours are done in a completely sealed, dust-free environment and are left to cure for up to 3 weeks. After enough time has passed for the fresh epoxy surface to cure and harden, the entire surface goes through a wet-sanding process followed by a polishing process. This remove any defects or un-levelness that epoxy naturally undergoes while curing. epoxy shrinks while it goes Through its curing stage, what looks flat 3 days after the Initial pour will show light waves 2 weeks later, this is why we wait for the cure process to go through all its changes before we wet sand everything back to a flat and even plane Followed by polishing to a deep glass like look.
Timeframe: Adds approximately 30-90 days to the project timeline to allow for proper application and initial curing before the table can be moved.
Price Point: Premium Upgrade (+ $$). This is our highest-priced option due to the high cost of the epoxy material and the extremely technical, labor-intensive application process required for a flawless, glass-like result.


